


A better alternative to using the classic textarea in your web app in collecting multiple lined text is using a rich text editor.
A rich text editor essentially is an input field that allows text editing functions like bold, italics, list, paragraph, headings, etc. If you're like me, you can already imagine amazing ways you could use it in your react apps or ways you COULD'VE used it.
I'm currently in the process of building an app where it was needed and I couldn't find a comprehensive tutorial on a good, easy to use rich text editor, I had to learn to use it through the gruesome process of having to research on easy-to-implement text editors and reading the required documentation. So if you're trying to avoid having to read any documentation, this post is for you. If you actually 'enjoy' reading documentation, click here to visit the documentation. Also, after reading this, I would advice you still brush through the documentation to broaden your knowledge. That said, let's dive right into it.
So, first you have to do is create a react app.
Note that in this tutorial, I will assume you already have basic knowledge of react which includes how to setup react on your machine, how to create a react app, what components are and what state and props are.
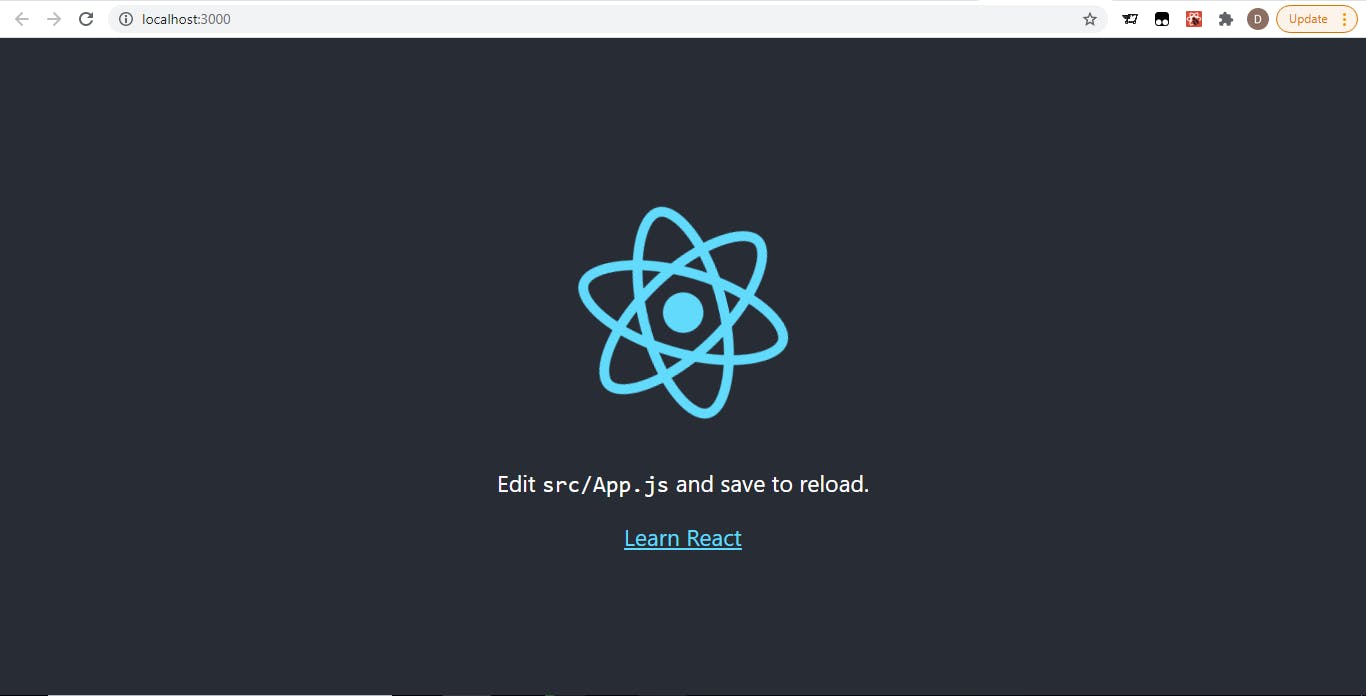
After creating your app, what you see is the react boiler plate. which looks like this:
So, we're going kill the server and install two react packages:
The first package is the ckeditor main package and the second is the build. You need to select a build if you want to start using the rich text editor. There are several builds to choose from based on the nature of your project but for this tutorial, we'll be going with the classic build. To read more about the builds, click here
I'm using yarn to install packages from command prompt, not npm, so the command will be:
yarn add @ckeditor/ckeditor5-react @ckeditor/ckeditor5-build-classic
after hitting "Enter" and the packages finish installing, start the server again using
yarn start
Next, we are going to clean out the code to only what is necessary for this project and get started.
Now, edit your App.js file to remain just this: (in case you're relatively new to react, it can be found in the '[yourProjectName]/src/App.js' directory)
import './App.css';

function App() {
  return (
    <div className="App">
      <header className="App-header">
        <h3>Rich text editor example.</h3>
      </header>
    </div>
  );
}

export default App;
The code still looks a little 'unwelcoming' for our text editor so, we'll edit the App.css file a bit. So, we'll go to where the 'App-header' class was defined and remove the 'min-height' property and it's value, hence, it now looks like this:
.App-header {
  background-color: #282c34;
  display: flex;
  flex-direction: column;
  align-items: center;
  justify-content: center;
  font-size: calc(10px + 2vmin);
  color: white;
}
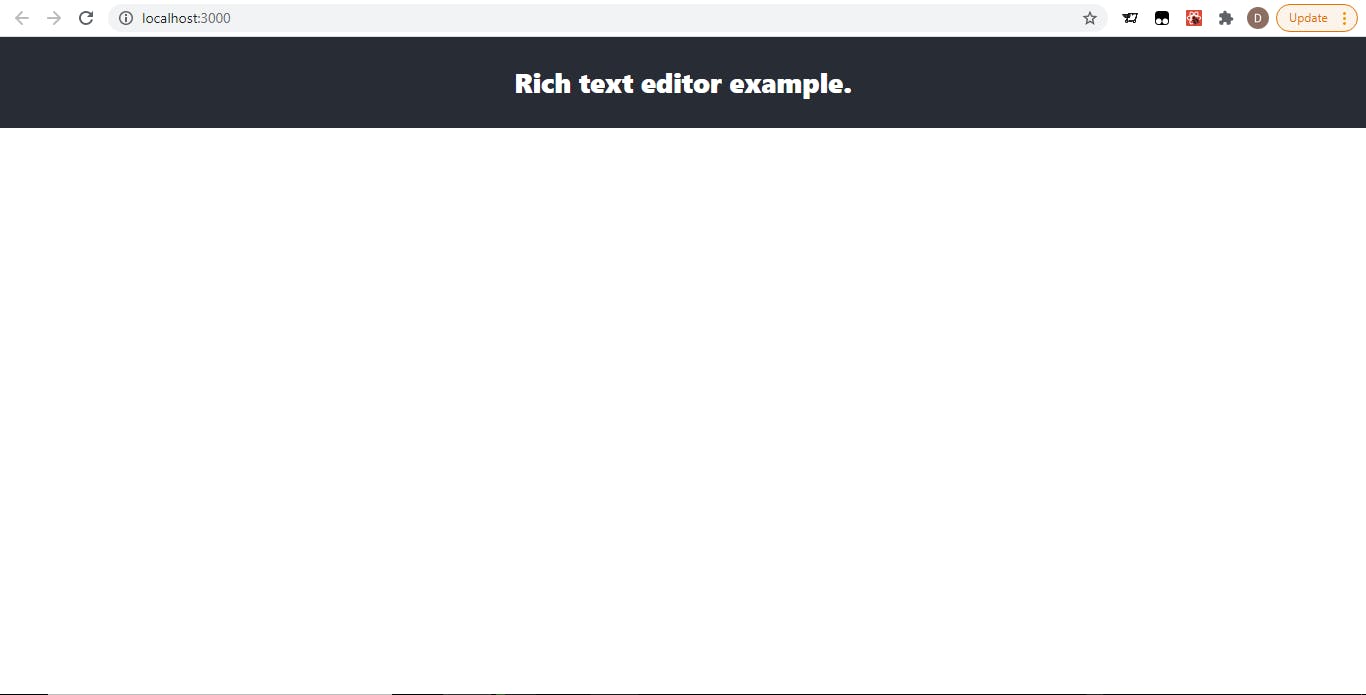
Now, our react app looks like this:
Next, we are going to import the previously installed packages in our react app, by adding this at the first line of our code in App.js, and also import the useState functions to be able to store our inputted data in the component's state:
import { useState } from 'react';
import { CKEditor } from '@ckeditor/ckeditor5-react';
import ClassicEditor from '@ckeditor/ckeditor5-build-classic';
Next, we will define data and setData as the state and setState functions for the component using useState hook by writing this on the first line AFTER the component's open curly brace, so our entire return function will look like this:
function App() {
  const [ data, setData ] = useState('');
  return (
    <div className="App">
      <header className="App-header">
        <h3>Rich text editor example.</h3>
      </header>


    </div>
  );
}
After that, we will define the function that handles the change of the state. We will call it 'handleStateChange' and write it like this:
const handleStateChange = (e, editor) => setData(editor.getData())
The e parameter represents the event and the editor parameter represents the instance of the editor that the event occured in.
Next, we will write the CKEditor component inside our div with class "App" and right under the header with class "App-header". We will add a few basic props to indicate the build we are using, the value of the editor (which is usually the state-in this case, data-variable) and the onChange event handler(the function that fires up when the event takes place). After writing it, our component looks like this:
function App() {
  const [ data, setData ] = useState('');
  const handleStateChange = (e, editor) => setData(editor.getData())
  return (
    <div className="App">
      <header className="App-header">
        <h3>Rich text editor example.</h3>
      </header>

      <CKEditor
        editor = {ClassicEditor}
        data = {data}
        onChange = {handleStateChange}
      />

    </div>
  );
}
And now, our web app looks like this:
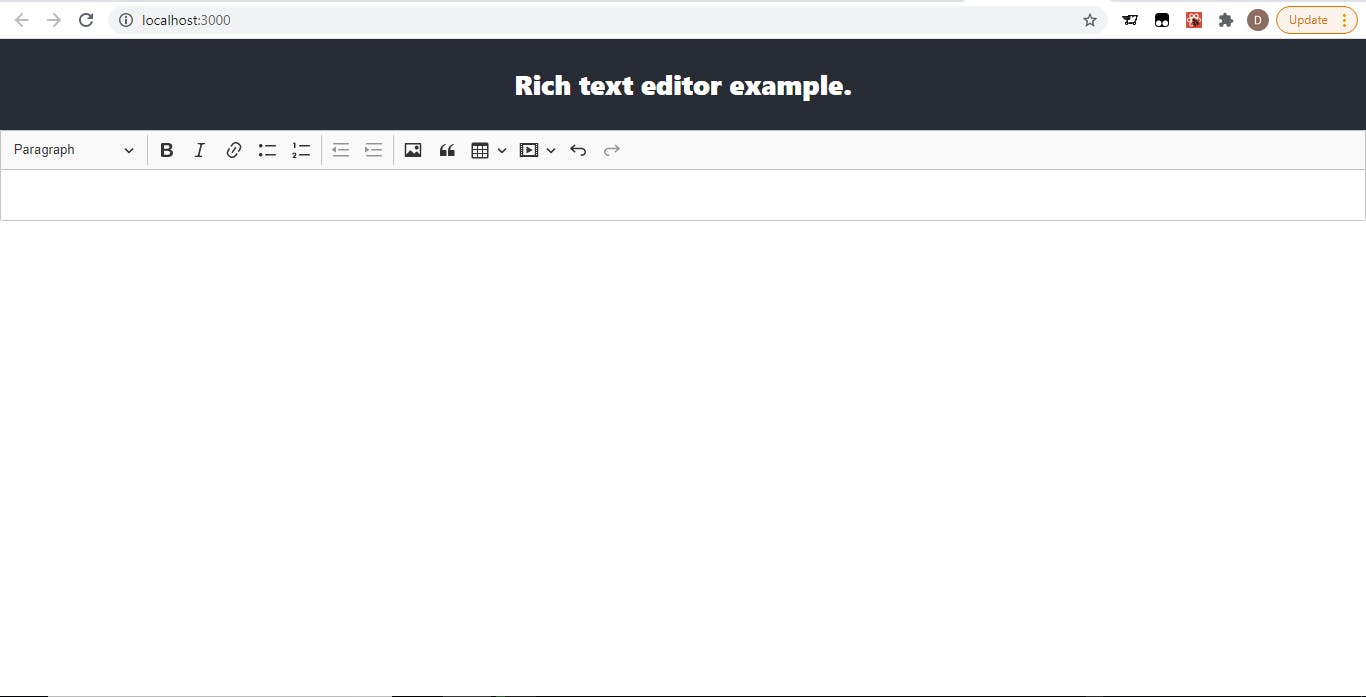
As you have noticed, there is a handful of buttons that indicate different functions in the editor's tool bar, many of which you might not want. And so, you can specify which ones you would like to display using the config props. After specifying the config props, our entire App.js file will look just like this:
import { useState } from 'react';
import { CKEditor } from '@ckeditor/ckeditor5-react';
import ClassicEditor from '@ckeditor/ckeditor5-build-classic';
import './App.css';

function App() {
  const [ data, setData ] = useState('');
  const handleStateChange = (e, editor) => setData(editor.getData())
  return (
    <div className="App">
      <header className="App-header">
        <h3>Rich text editor example.</h3>
      </header>

      <CKEditor
        editor = {ClassicEditor}
        data = {data}
        onChange = {handleStateChange}
        config = {{
          toolbar: {
              items: [
                  'heading',
                  '|',
                  'bold',
                  'italic',
                  '|',
                  'bulletedList',
                  'numberedList',
                  'indent',
                  'outdent',
                  '|',
                  'undo',
                  'redo'
              ]
          }
      }}
      />

    </div>
  );
}

export default App;
That's all it will take to display a rich text editor on your react app. Pretty easier than I expected before I knew about it.
Please contact me on twitter via @mr_dondaniel If you have some questions about what is written here.